Connect your AI
On this page
- What MCP is
- Apps you can use
- The recommended way: an API key from Connections
- Connect your AI in four steps
- 1. Open Connections
- 2. Create a connection
- 3. Copy the snippet for your app
- 4. Paste it into your app and test
- Common questions
- Do I need a separate key for each app?
- Can my AI see everything in my Quillly account?
- Can I use Quillly without an AI app?
- Related
Connect your AI app to Quillly, and it can write, check and publish on your websites for you. This page explains how the connection works, which apps you can use, and the one way we recommend to connect them.
What MCP is#
Quillly talks to AI apps through MCP, the Model Context Protocol: an open standard that lets an AI app use tools from another service. The Quillly MCP server is at https://quillly.com/api/mcp.
Once your app is connected, the AI can call Quillly's tools: list your websites, save drafts, check SEO scores, publish, and read analytics. It gets only the tools your connection allows, and Quillly never sees the login for your AI app.
Apps you can use#
App | What you add to it |
|---|---|
Claude, on the web, desktop and mobile | A custom connector with your connection URL |
One | |
A developer-mode app with your connection URL | |
A few lines in the app's MCP settings file | |
A custom app or connector with your connection URL | |
The server URL, with your key in a header |
Click an app for its step-by-step setup. Your app needs to support remote MCP servers over HTTP. An app that runs only local servers can still connect through a small bridge called mcp-remote.
The recommended way: an API key from Connections#
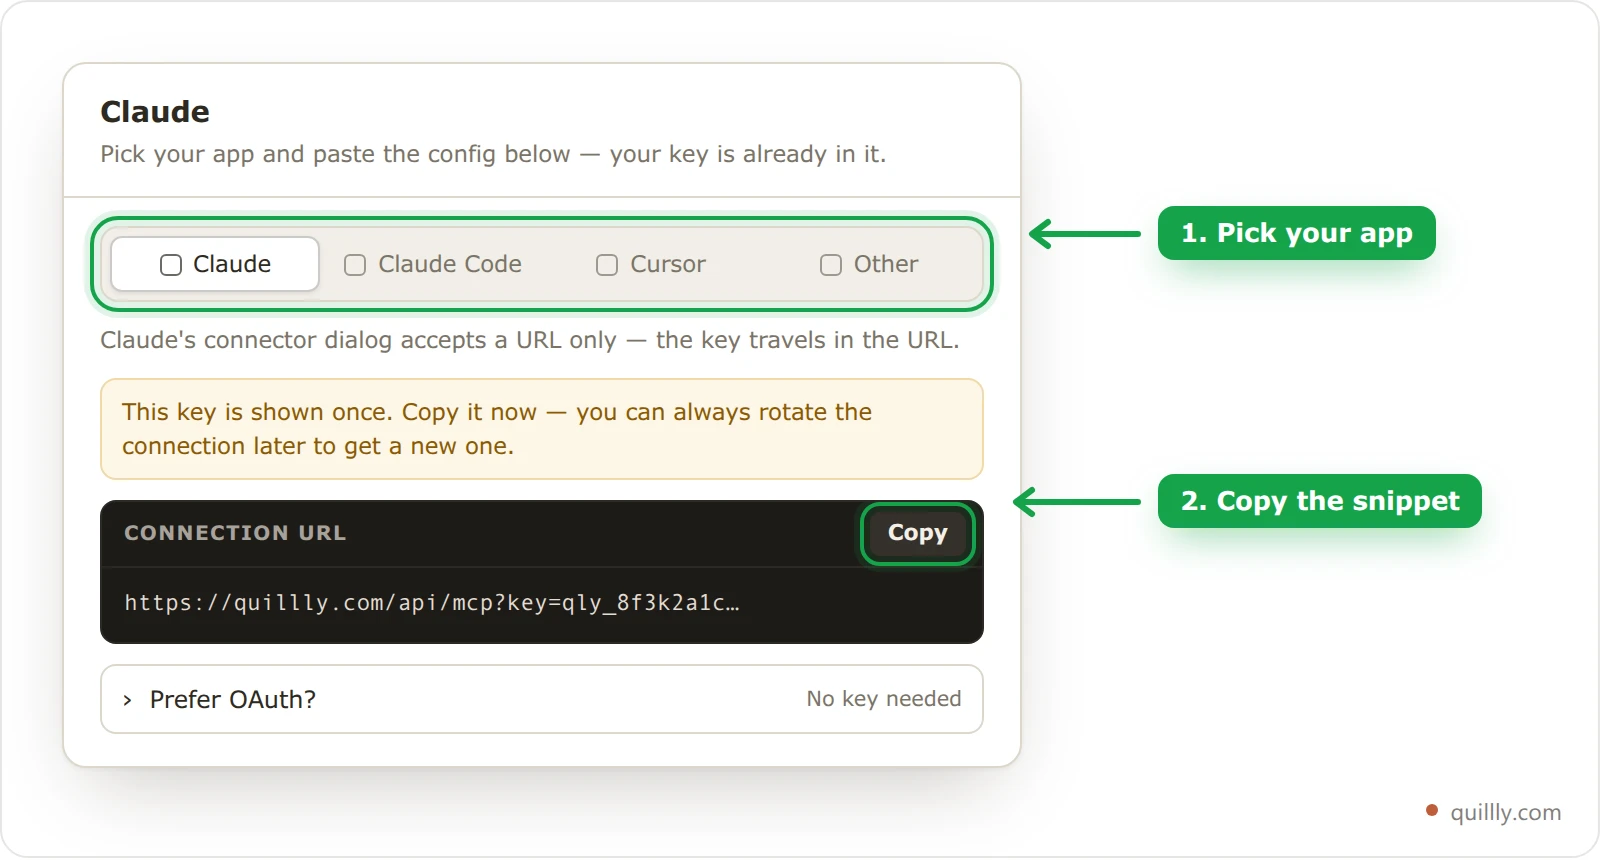
Whatever the app, you connect the same way: create an API key on Connections, then paste the snippet the setup dialog gives you for that app. The dialog puts the key where your app can read it:
In the URL, for apps whose connector form takes only a URL: Claude, ChatGPT, Gemini and Grok. The connection URL looks like
https://quillly.com/api/mcp?key=qly_….In an
Authorizationheader, for apps you set up with a command or a settings file: Claude Code, Cursor and the other editors. The URL stayshttps://quillly.com/api/mcp.
A key is the default for a reason. Quillly also supports OAuth, where you paste the plain URL and sign in, but OAuth completes only in a browser where you are already signed in to Quillly. A key works everywhere, including terminals and servers, and you can choose its tools, rotate it or revoke it without touching your other apps. API keys, OAuth and tool access covers both in full.
Connect your AI in four steps#
Before you start, you need a Quillly account with at least one website, and your AI app open.
Open Connections#
In the Quillly dashboard, open Connections under Configure.
Create a connection#
Click Connect, type a name you will recognize, such as
ClaudeorWork laptop, and click Create. The setup dialog opens with your new key already in each snippet.Copy the snippet for your app#
Pick Claude, Claude Code, Cursor or Other, and click Copy. Quillly shows the key only this once.
Paste it into your app and test#
Add the snippet to your app, then send
List my Quillly websites. When the AI answers with your websites, the connection works, and on Connections its line changes from Never used to Last used.Warning
Your key works like a password: anyone who has it can write and publish on your websites. Keep it out of shared documents and code you commit, and rotate it on Connections if it leaks.
Note
Connected your AI during onboarding? That connection is already on Connections as Onboarding key, and it keeps working. You do not need another one.
Common questions#
Do I need a separate key for each app?#
We recommend it. Each key has its own tools and its own line in the usage panel, and revoking one does not break the others. Plans, trial and limits lists how many keys each plan allows.
Can my AI see everything in my Quillly account?#
It can reach what its tools reach: your websites, their content, analytics and settings. You choose the tools for each key on Connections, and on websites a teammate shared with you, your team role limits them further.
Can I use Quillly without an AI app?#
Yes. You can write, publish and read your data in the dashboard too: Blog for writing and Analytics for traffic, for example. Connecting an AI is optional, so you can skip it during onboarding and connect one later from Connections.
Related#
Your first session: what to ask your AI once it is connected.
Getting started with Quillly: set up your site and publish your first post.
What is Quillly: the three products and how they fit together.
Plans, trial and limits: API limits and keys for each plan.
API keys, OAuth and tool access: tools, rotation and usage for each key.
MCP tool reference: every tool your AI can use, by plan and role.